Relays, inputs and counters setup
Relays setup
To setup the relays of your IPX or of its extensions, open the "Relais IPX" section of the "Preferences" tab. Select a relay in the list to open its setup screen.
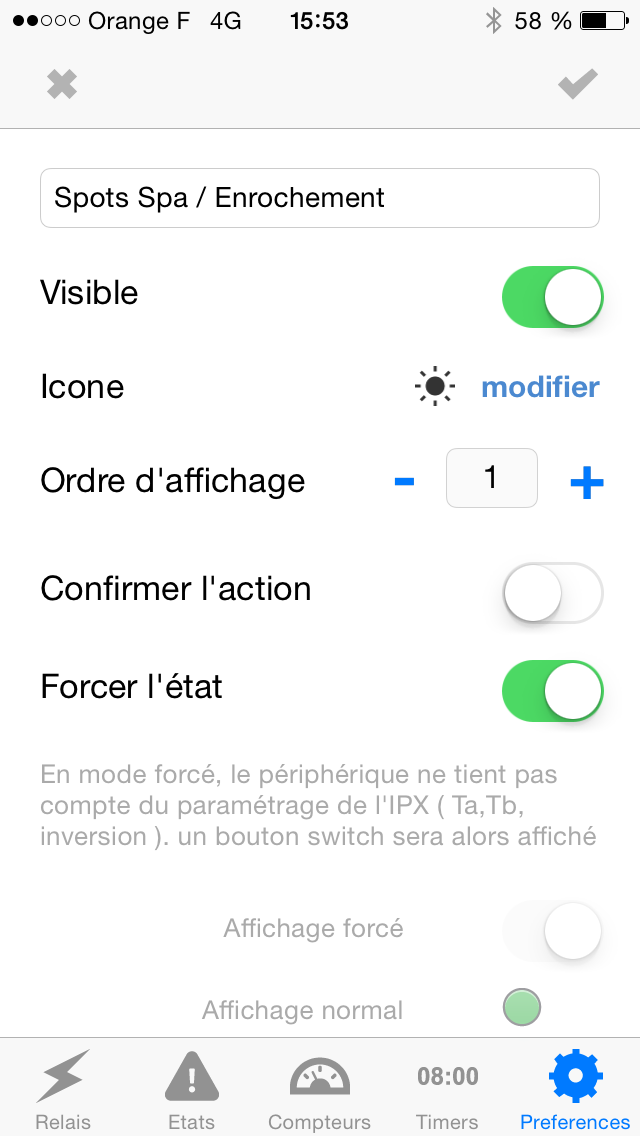

For each relay, you can:
- define its name (text field) and choose an icon ("modify" button)
- make it visible or not in the list of the "relays" tab ("visible" switch)
- define the position of this relay in the list.
Note: the chosen value affects the list display order only in the "relays" tab. In the "preferences" tab, relays are always display in an order corresponding to the physical connectors on the IPX, in order to avoid confusion at setup. - ask the user to confirm action. When this option is active, any action on this relay will open a dialog asking the user for confirmation before triggering the action on the IPX.
- force state: when this action is not active, i800 executes the current action in the way it is configured on the IPX for this relay (Ta & Tb delays,...).
When this option is active, i800 will force the relay to the given state, ignoring actions eventually programmed on the IPX using Ta & Tb delays.
Sample use of a forced state: relay #01 is configured on the IPX to switch on a light after 10 seconds and for 5 minutes (Delay on Ta=100, delay off Tb=3000). With the "force state" option activated, if you switch the relay on, the light will be turned on immediately and won't get turned of after the 5 minutes.
Digital and analog inputs setup
Select a digital input in the corresponding section of the "Preferences" tab to open its configuration screen.
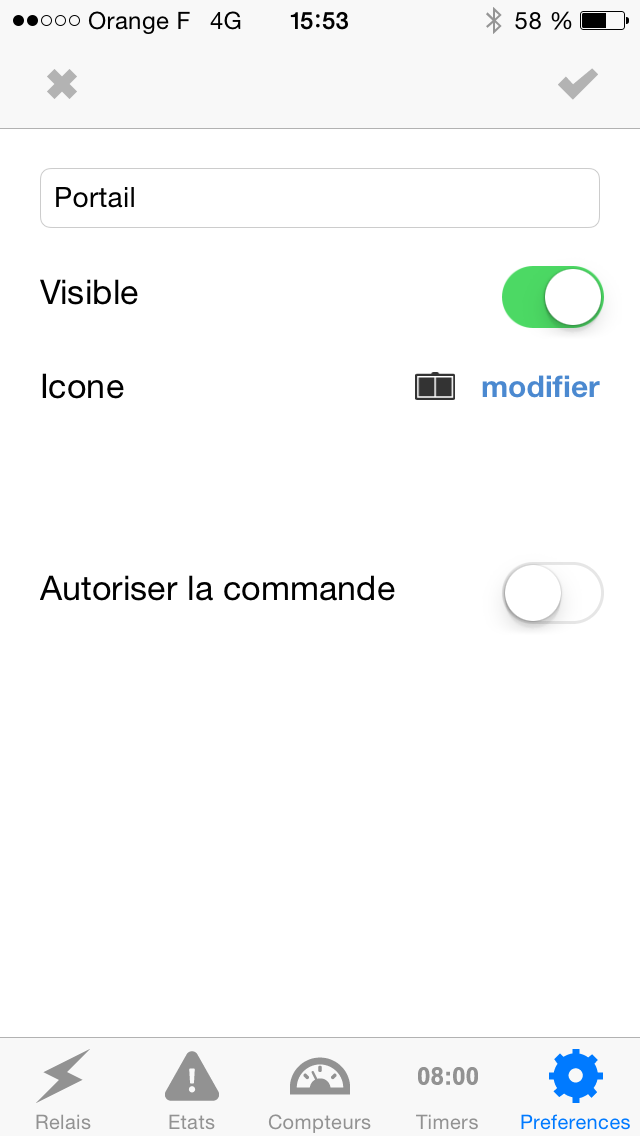
For each input, you can:
- define its name (text field) and choose an icon ("modify" button)
- make it visible or not in the list of the "inputs" tab ("visible" switch)
- authorize the action linked to this input.
This comes to the same thing as forcing the state of this input, which then triggers the relay linked to this input.
Warning: unadequate use of this feature may result in disconnecting the input state value from its "real world" state . This option is inactive by default and should remain inactive unless you know exactly what your are doing and what side-effects it might trigger...
Note: the relations between inputs and relays are defined IPX-side, please refer to the manufacturer's documentation for further explanations on this feature of the IPX-800.
Counters setup
Select a counter in the list of the corresponding section in the "Preferences" tab to open its configuration screen.
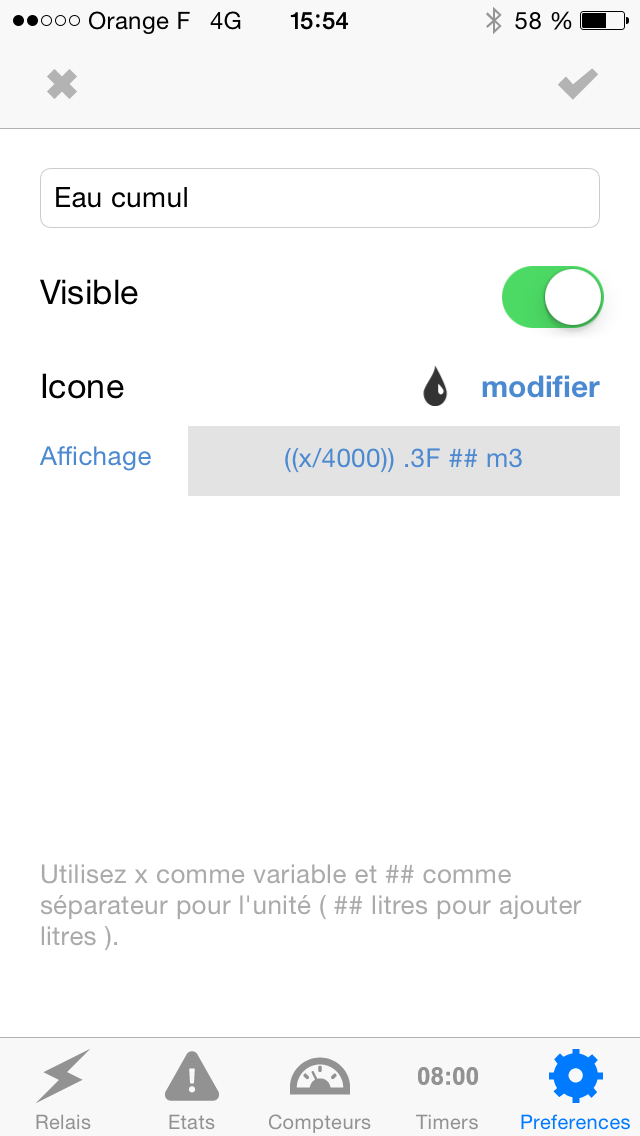
For each counter, you can:
- define its name (text field) and choose an icon ("modify" button)
- make it visible or not in the list of the "inputs" tab ("visible" switch)
- customize the display of the counter value.
For instance, if the counter value is in liters and you need to display it as m3, enter following formula: x/1000.
To display a unit of measure after your value, use the "##" separator: x/1000## m3
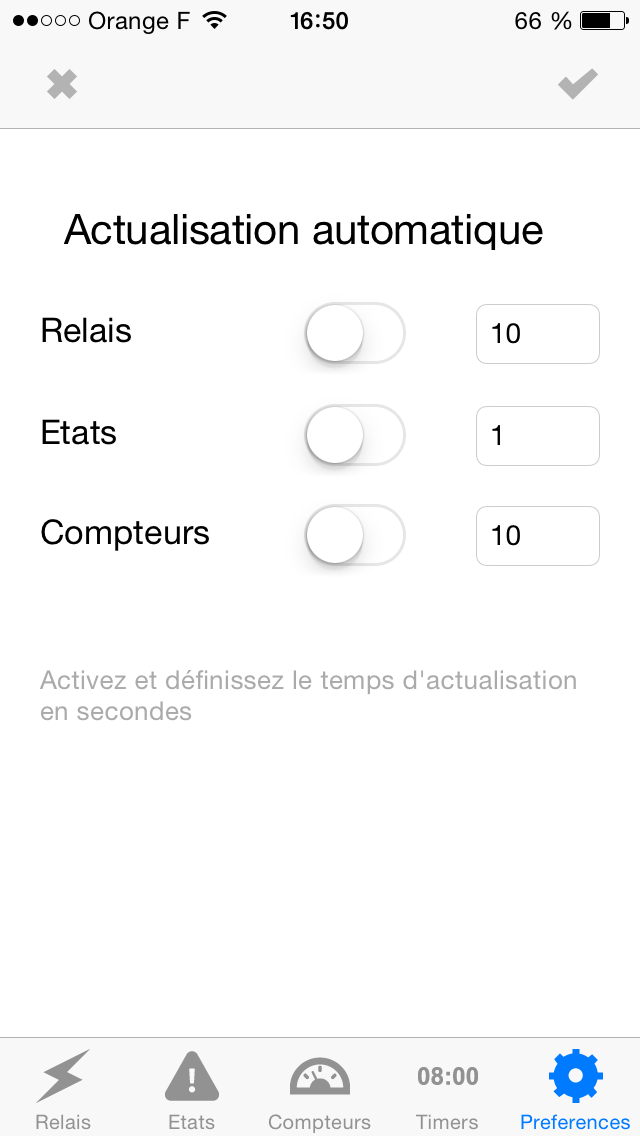
Auto-refresh
The display of the relays and inputs states is regularly displayed so that it displays the actual, physical state of your IPX. The same applies to counter values.
To configure the auto-refresh frequency, select the "auto-refresh" entry of the "Preferences" tab.